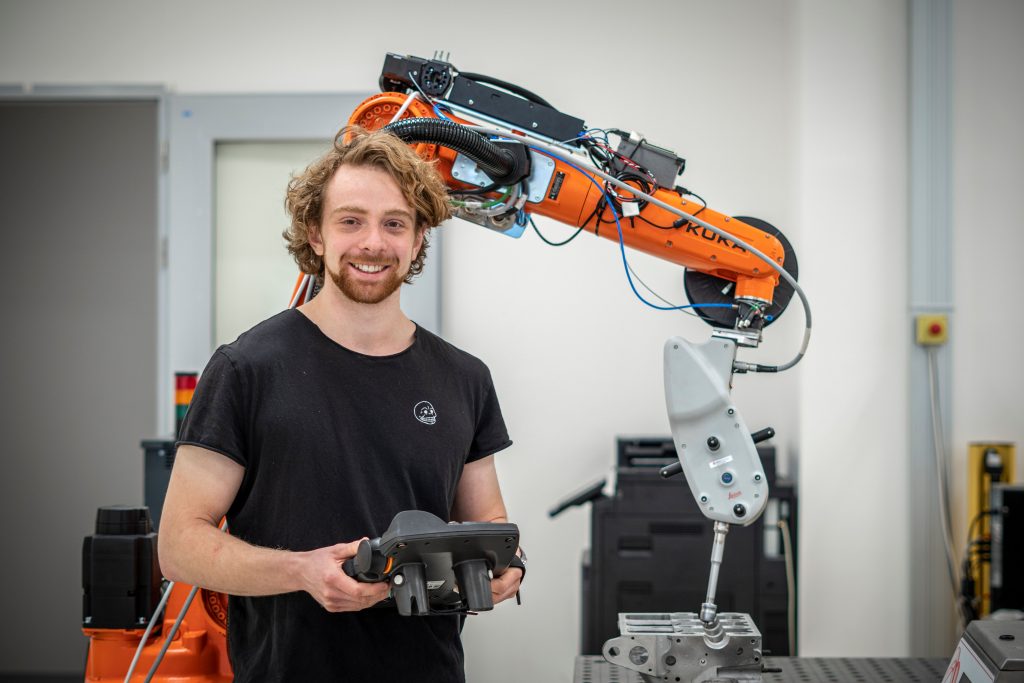
Václav Kubáček has started his internship at the Testbed for Industry 4.0 in June 2021.

I started my internship at the Testbed for Industry 4.0 in June 2021. There, I and my colleague Ing. Tomáš Jochman are researching the use of an industrial robot for 3D print. Ing. Jochman is mainly working on the technology of 3D print, while I am primarily dealing with the precise measurement of printed parts, calibration of workspace, and real-time feedback correction of paths during the 3D printing process.

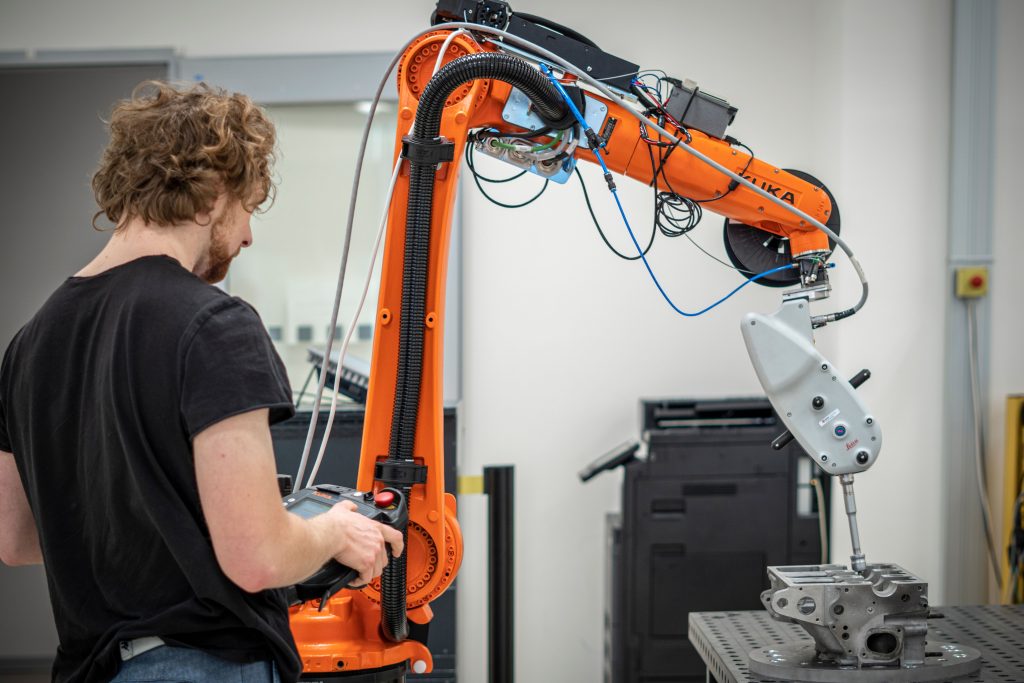
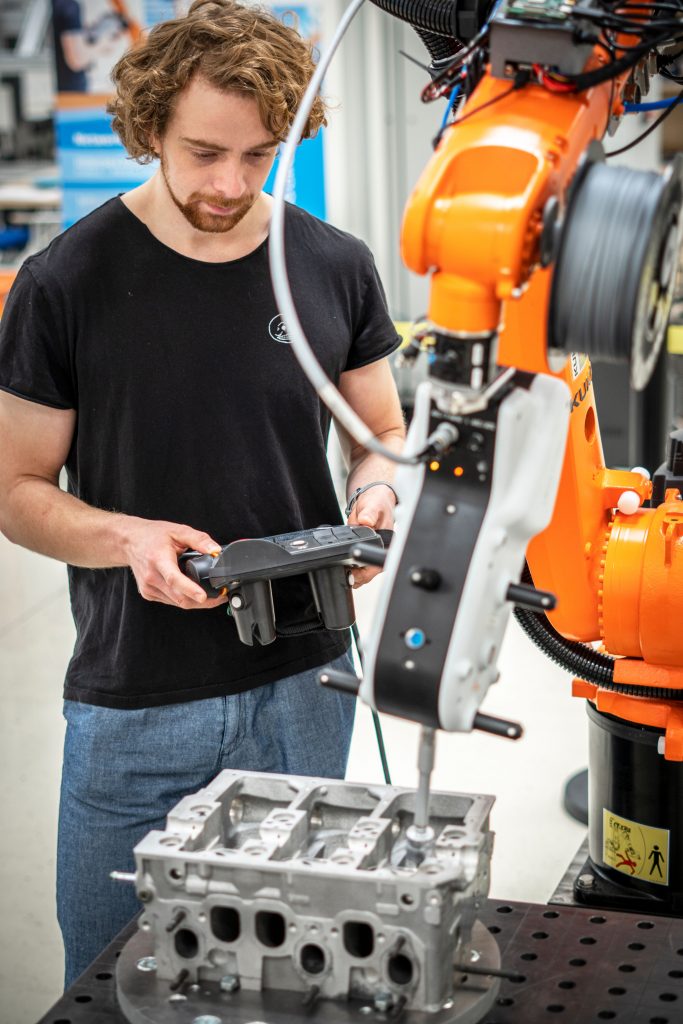
We have mounted a 3D print extruder to the Kuka Cybertech KR 8 R1620, and we are printing on the two-axis positioning table Kuka DKP 400. This allows us to print vertically and without any printed supports. For precise measurement, we are using the laser tracker Leica Absolute Tracker AT960. The laser tracker can provide distance measurement with an accuracy of up to 15 micrometres. Except for a passive reflector, we have the Leica T-Mac (Tracker-Machine control sensor), which allows us to measure 6-DoF. A Renishaw touch probe can be mounted to T-Mac, then it can behave as a coordinate measuring machine.
Right after putting the laser tracker into operation, I had to set up communication between the laser tracker and the robot controller. I have created several programs in KRL (KUKA Robot Language) and RSI (Robot Sensor Interface). By them, I am able to send commands to the laser tracker and receive measured data from the laser tracker. I have also programmed a converter of raw binary data from the laser tracker to REAL type representation in KRL.
After that, I explored the possibilities of inspection of printed parts according to a CAD model. I have been using the metrology software Polyworks Inspector, but I hope that using this software is not necessary because I have made custom programs for operating the laser tracker. This process involves aligning the part to a CAD model, measuring specified geometrical objects, and comparing their parameters with proposed parameters in the CAD model. This determines if the product has been printed within the specified tolerances. This process is automated and can be integrated into industrial production, just as a replacement for the coordinate measuring machine.
I am currently finalizing the algorithm to automatically obtain the transformation matrices between the laser tracker and the robot and between the robot and the table. The transformation between the laser tracker is necessary for loopback correction of the robot trajectory so that measured points by the laser tracker are in the robot coordinate system. And the transformation between the robot and the positioner table is required for getting the workspace configuration as precise as possible. Then we can print on the table exactly at the defined points without any offset.
In the following months, I will be measuring the deviations of the robot’s actual trajectory during the printing process from the designed one. And then create a feedback controller that will correct those trajectories in real-time.

